Nikon Metrology, Inc, and Hyundai Motor North America announced that Hyundai has purchased and installed Nikon’s X-ray computed tomography (CT) system. This represents a significant investment in the success of Hyundai’s newly opened $51.4 million Safety Test and Investigation Laboratory (STIL) in Superior Township, MI.
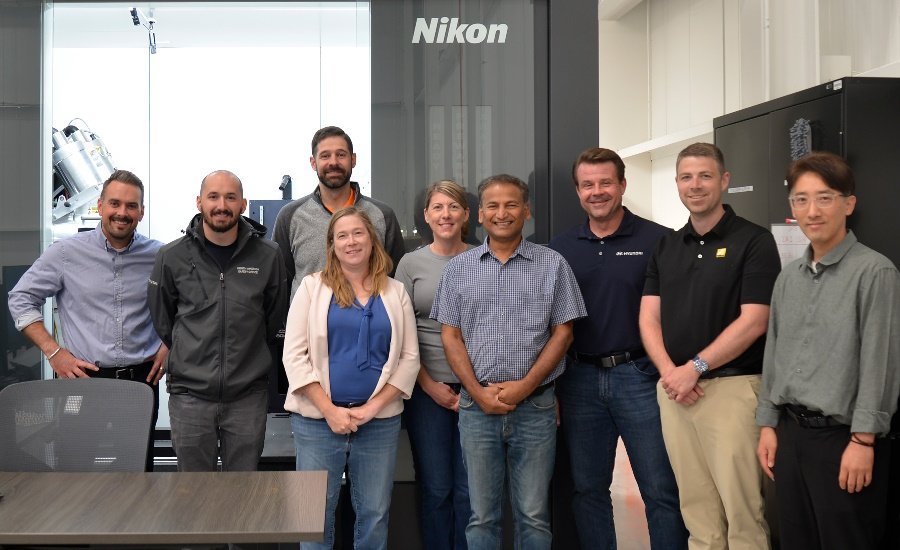
Nikon’s X-ray CT system offers a large scanning volume, multi-source flexibility, dual-detector functionality, and an extensive range of enhancements which together provides users of the system with truly exceptional inspection capabilities.
Hyundai Motor North America utilizes Nikon’s X-ray CT system in their STIL facility for important analytic processes, including nondestructive inspection of components such as air bag inflators, lock mechanisms, seat switches, struts, impellers, and additive parts.
“Having the on-site capabilities to view the inner structures and components of materials and mechanisms through the advanced Nikon X-ray CT system provides Hyundai with detailed datapoints that would otherwise take weeks to evaluate,” says Ben Michajlyszyn, director, Safety Test and Investigation Laboratory, Hyundai Motor North America.
The successful collaboration between Nikon Metrology and Hyundai Motor North America is the direct result of their mutual commitment to world-class engineering and manufacturing.
Nikon’s X-ray CT systems have been built to handle the most demanding inspection tasks in the manufacturing world, both now and in the years to come. “The multi-tube, multi-detector configuration delivers a highly flexible system capable of producing top-quality results on small, low-density components such as impellers as well as on larger, multi-material assemblies such as airbag inflators. This flexibility to do more on a single system can yield a greater ROI and the ability to adapt to Hyundai’s needs as their business and inspection requirements advance,” says Chris Peitsch, Global Sales Manager, Nikon Metrology.
Hyundai, in turn, utilizes the X-ray CT system to ensure the quality, safety, and functionality of the components that make their way into Hyundai’s award-winning automobiles. Measurement is fast, efficient, and accurate, and the nondestructive nature of the inspection is critical. Using destructive techniques on charged devices such as airbag inflators would represent potential hazards for inspectors on site at the STIL, whose mission is to increase safety for Hyundai customers and employees alike. Nikon’s X-ray CT systems are an important part of that effort, and it is representative of the valued, ongoing partnership between Hyundai and Nikon.
For more information, visit www.industry.nikon.com or www.hyundaiusa.com/.

